
On this page
A monkey can install a pixel. It is a few clicks in Events Manager and a script in the head of the page, and there is nothing to get wrong. Everything that actually decides whether the account works sits in the next nine steps, and most of it is about the places the event must not fire.
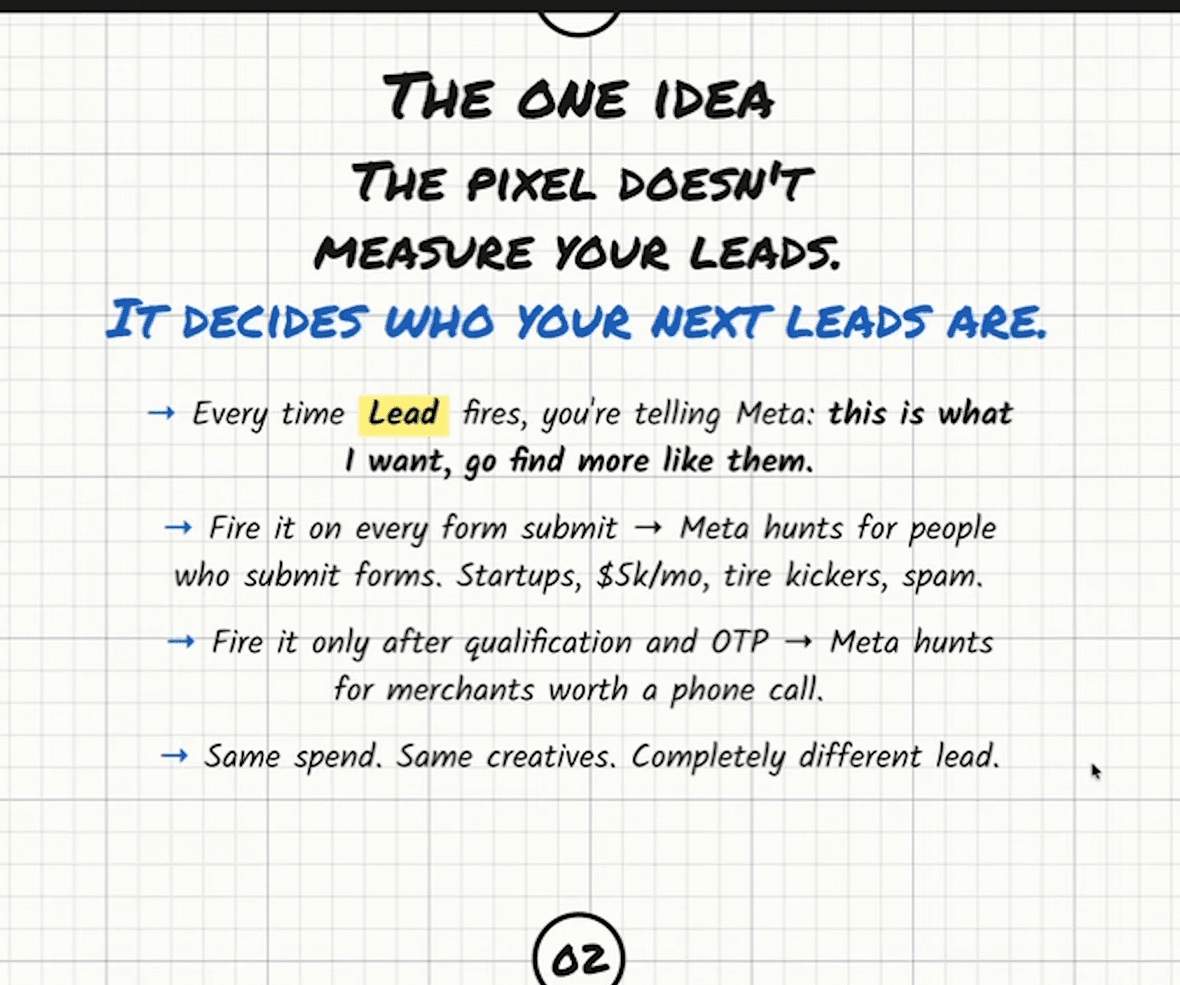
The ten steps
| Step | What you do | Why it is on the list |
|---|---|---|
| 1 | Create the pixel in Events Manager. One pixel per funnel | A pixel shared across two offers learns two contradictory definitions of a lead |
| 2 | Install the base code on every page | PageView everywhere is harmless, and it loads the pixel so the lead event has something to fire through later |
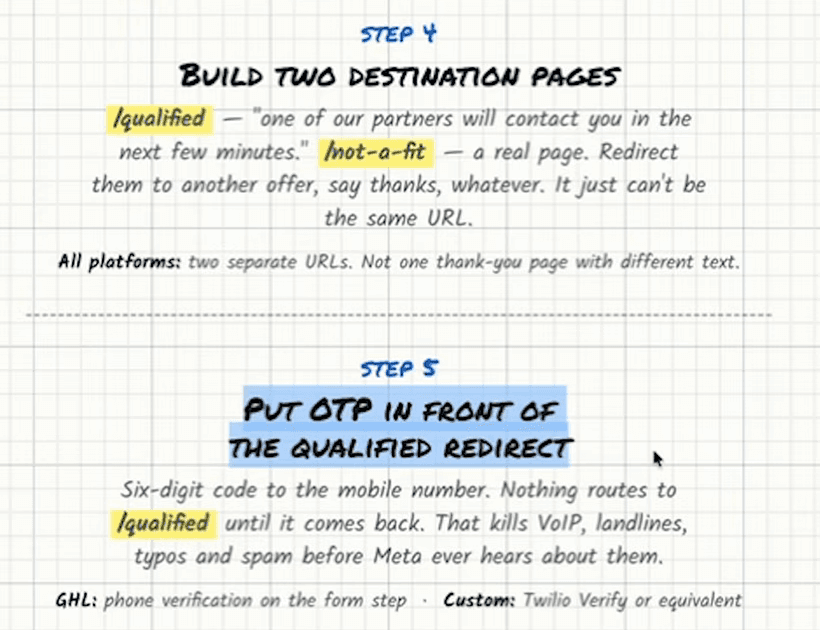
| 3 | Build the form so it can disqualify | Revenue, amount, time in business, statements, state — each answer either continues the form or ends it |
| 4 | Build two destination pages | Two separate URLs, not one thank-you page with different text on it |
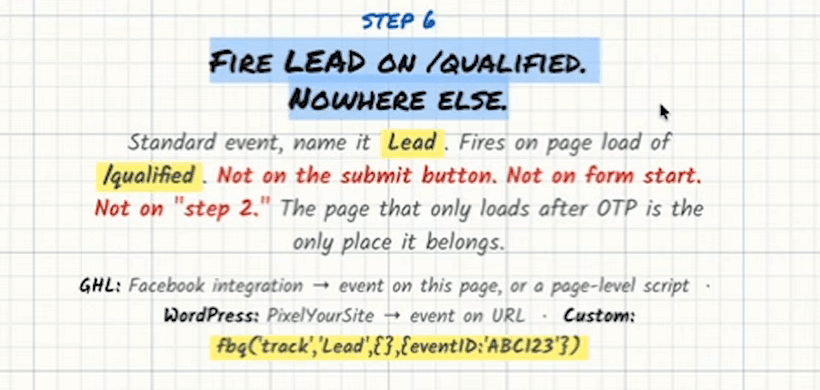
| 5 | Put the one-time passcode in front of the qualified page | Nothing routes to the qualified page until the six-digit code comes back |
| 6 | Fire the lead event on the qualified page, nowhere else | Not on the submit button, not on form start, not on step two |
| 7 | Add the Conversions API for the same event | A server copy that cannot be blocked, carrying the hashed contact details |
| 8 | Check deduplication | The Deduplicated column in Events Manager should be filling up |
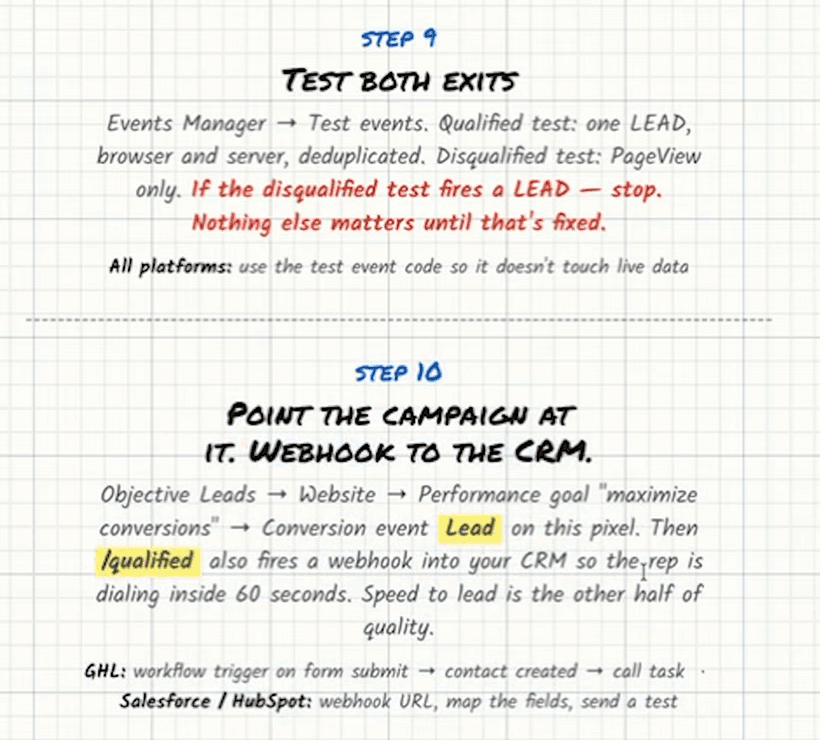
| 9 | Test both exits | A disqualified test that fires a lead event stops everything else |
| 10 | Point the campaign at the lead event, and webhook the qualified page to the CRM | The optimisation and the phone call both hang off the same page load |
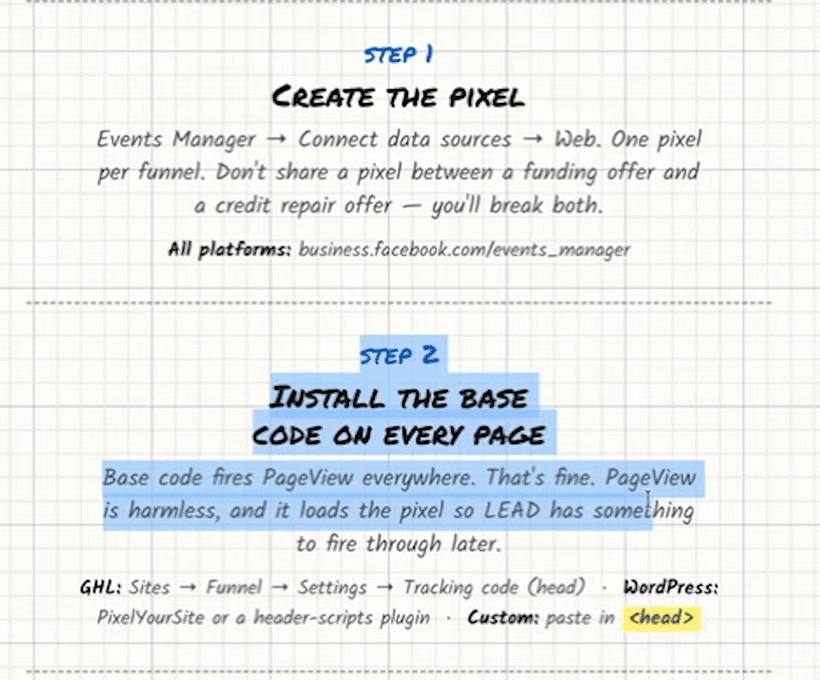
Steps three and four: the form does the disqualifying
The gates are conditional logic inside the form, not copy on the page. Revenue, requesting amount, time in business, months of statements and state, and each answer either continues the application or ends it. The form’s job is to find the merchants you cannot fund before the pixel ever hears about them, which is why the fields that qualify have to be asked rather than assumed.
Then two destinations. A qualified submission lands on a page that says one of our partners will contact you in the next few minutes. A failure lands on a real page — another offer, a plain thank-you, whatever suits — and it is never the same URL. That page is also the reason a disqualified merchant is still worth something: you paid for the click, the record can be called or sold on, and none of it reaches Meta.
Steps five and six: the passcode, then exactly one event
A six-digit code goes to the mobile number the merchant typed, and nothing routes to the qualified page until it comes back. That removes VoIP numbers, landlines, typos and spam before any of it becomes data. It is the clearest case of friction that earns its drop-off, because everyone it stops is someone who could not have been called anyway.
Step six is the one people get wrong after doing the first five right. The standard Lead event fires on the page load of the qualified page. Not on the submit button, not on form start, not on “step two”. The page that only loads after the passcode has come back is the only place it belongs, because that page load is the only moment in the funnel that means what you want Meta to go and find.
Steps seven to ten: the server copy, and the test that matters
Step seven adds the Conversions API sending the same Lead from your server, with the same event ID and the hashed contact details attached. Step eight is confirming that Meta is collapsing the two copies into one rather than counting both — why the lead is sent twice covers what that check looks for and what a failed one does to your cost per lead.
Step nine is the one to do before spending anything. In Events Manager, use the test event code and run a qualified submission through: one Lead, browser and server, deduplicated. Then run a disqualified one: PageView only. If the disqualified test fires a Lead, stop. Nothing else on this list matters until that is fixed, because the account is training on merchants nobody can fund.
Before you spend a dollar
The same ten steps as a list to tick off, which is worth doing on an account that already exists as well as one being built. A funnel that has been running for months with the event on the wrong page has a pixel full of the wrong merchants, and that is a thing to find out now rather than after another month of spend.
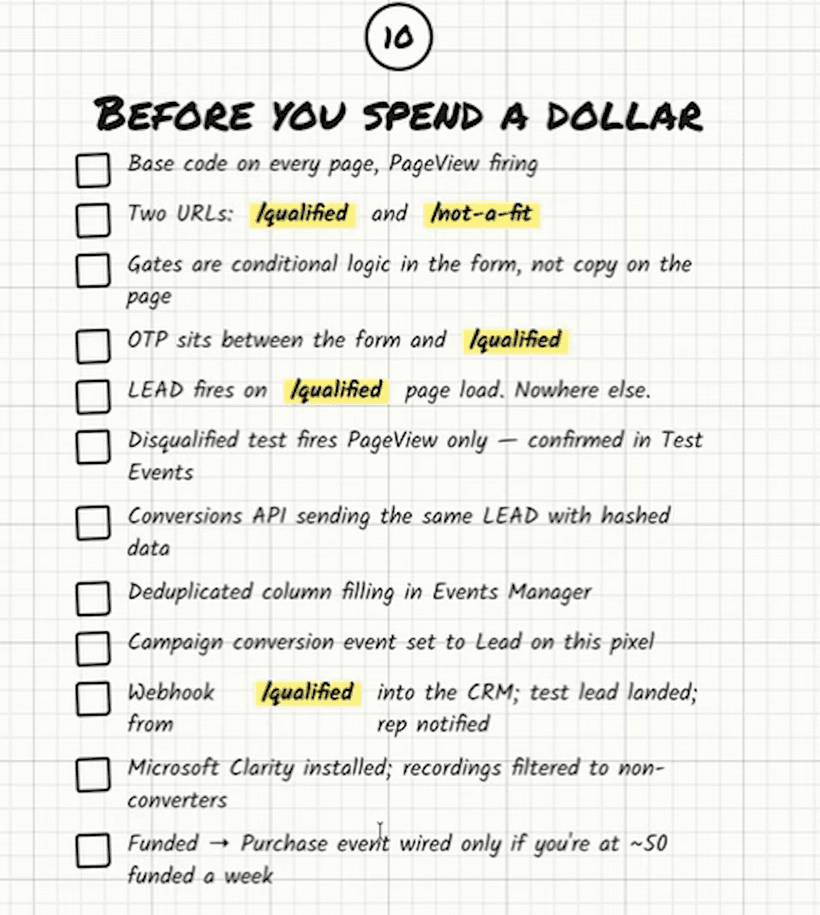
That last box is a volume question rather than a setup question: funded deals as a Purchase event need about fifty a week before Meta can read them, which puts them out of reach of almost every account. Everything above it applies at any budget above the $100-a-day floor.
Questions brokers ask
How do I set up the Meta pixel for an MCA landing page?
Create one pixel for that funnel, put the base code on every page, build qualification into the form, send qualified and disqualified submissions to two separate URLs, put a one-time passcode in front of the qualified page and fire the Lead event on it and nowhere else. Then add the Conversions API for the same event and test both exits.
Where should the Meta lead event fire on a funding funnel?
On the page load of the qualified thank-you page — the one a merchant only reaches after clearing the form’s gates and entering the passcode. Not on the submit button, not on form start, not on an intermediate step.
Do I need two thank-you pages?
Yes, two separate URLs. If qualified and disqualified submissions land on the same page the pixel cannot tell them apart, so neither can Meta, and the campaign optimises towards merchants you cannot fund.
What do I test before running traffic?
Both exits, using the test event code in Events Manager so it does not touch live data. A qualified test should produce one Lead, browser and server, deduplicated. A disqualified test should produce a PageView and nothing else.
Does the pixel setup change if I use GoHighLevel or WordPress?
The steps are the same; only the place you paste things moves. GoHighLevel has native tracking-code and Facebook integration settings, WordPress shops usually run PixelYourSite, and a custom build pastes the base code in the head and fires the event with an event ID.
Reference
The video this build comes fromTwenty-two minutes on the pixel and the Conversions API, with chapters, the board and the transcript in full.

Alex Makowski
Founder, Infinite Bookings
Runs the lead generation operation behind Infinite Bookings — paid traffic, the funding application, and the delivery pipeline that puts records into brokers’ CRMs.
Reachable directly at alex@infinitebookings.com or 732-609-7182.